Mitel 3300 SIP
Requirements
- DuVoice 5.30 or above.
- One IP user license per DuVoice port.
- Dialogic HMP.
- MITEL MCD 3300 (MiVoice) 12.0.2.23-01 or above.
Features
- Message waiting using feature codes.
PBX Configuration
Class of Service Options
Create a class of service for the DuVoice system.
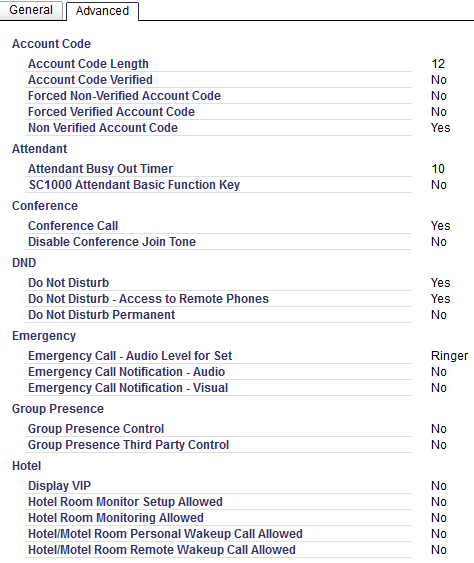
General
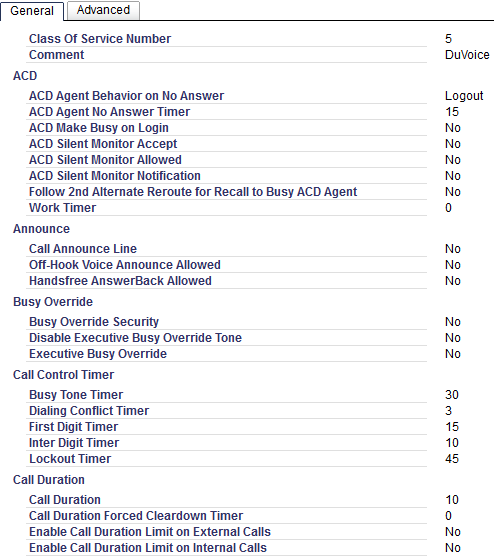
- Comment
Enter DuVoice or other identifier. - Busy Override Security
Choose Yes.


- COSV/ONS/E&M Voice Mail Port
Choose Yes. If this is not done the hunt group type cannot be set to VoiceMail.
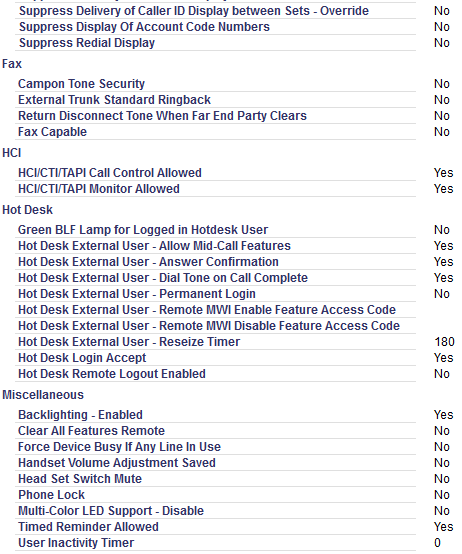
Advanced
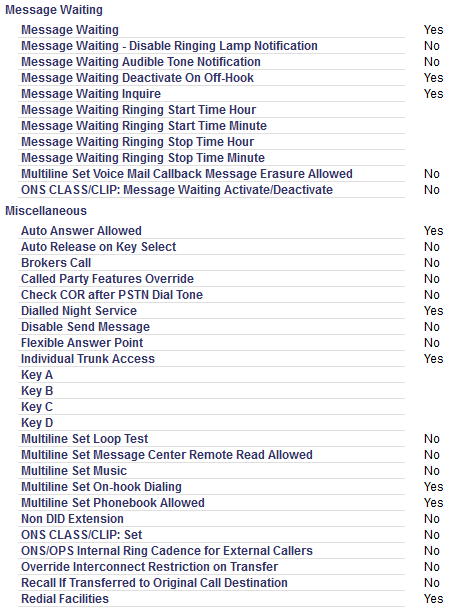
- Message Waiting
Choose Yes. - Multiline Set On Hook Dialing
Choose Yes.
Feature Access Codes
By default the DuVoice uses *33 for message waiting set and #33 for message waiting clear. If your system does not use these you will need to change these during the DuVoice installation later.

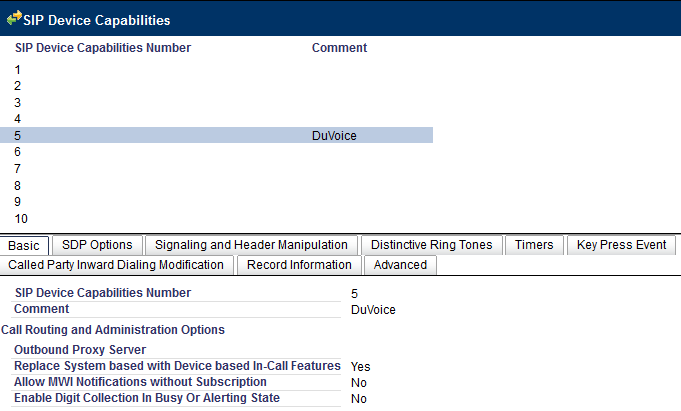
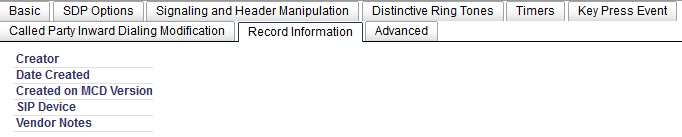
SIP Device Capabilities
DuVoice does not require any additional settings for operation. It is suggested to choose a specific number for all DuVoice lines in order to reduce conflicts with other SIP devices. The following default configuration can be used as reference.
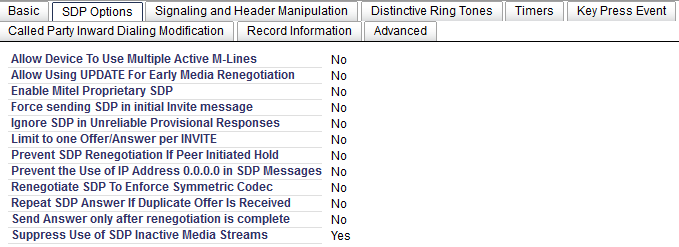
SDP Options
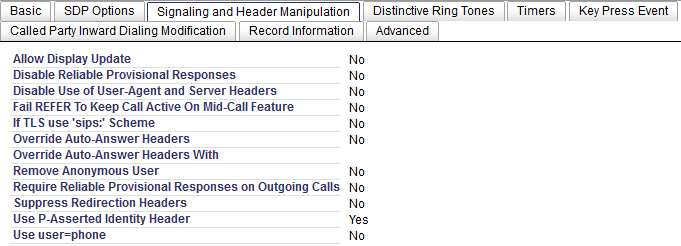
Signaling and Header Maniputlation
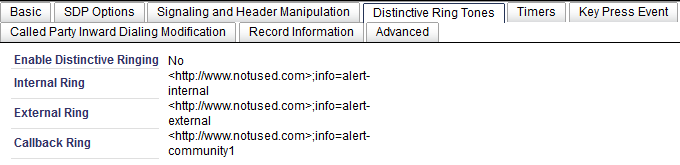
Distinctive Ring Tones
Timers
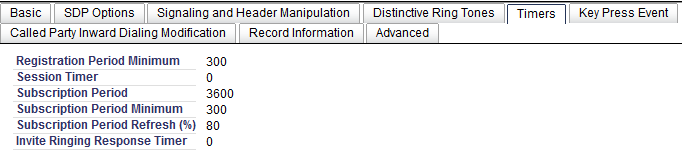
Key Press Event

Called Party Inward Dialing Modification

Record Information
Advanced

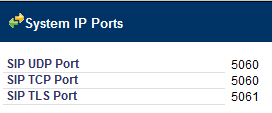
System IP Ports
Verify the IP ports used by the PBX as the following.
User and Device Configuration
A user must be created for each of the DuVoice lines like the following.
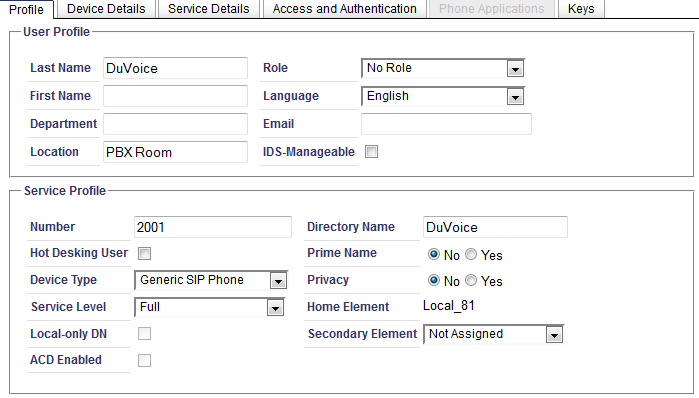
- Last Name
Enter a name to identify this user when called. Only devices with displays will see this name. - Location
Enter a something to identify this users location. - IDS-Manageable
Uncheck. - Number
Enter the extension number for this line. - Device Type
Choose Generic SIP Phone.
Device Details
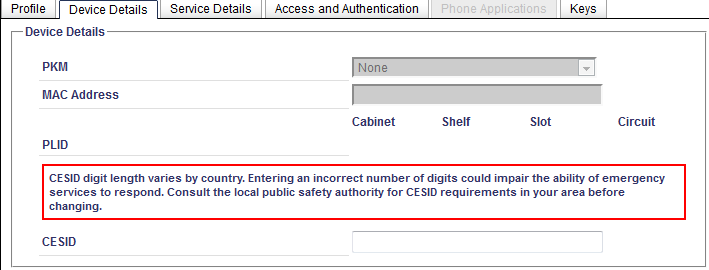
Service Details
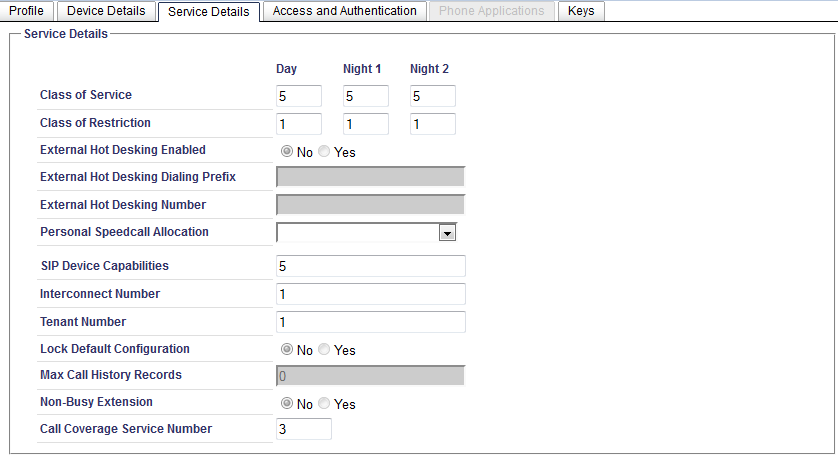
- Class of Service
Enter the class of service number you configured for the DuVoice above for all. - SIP Device Capabilities
Enter the number chosen for DuVoice in SIP Device Capabilities. - Call Coverage Service Number
Set this value to a number not used by other devices.
Access and Authentication
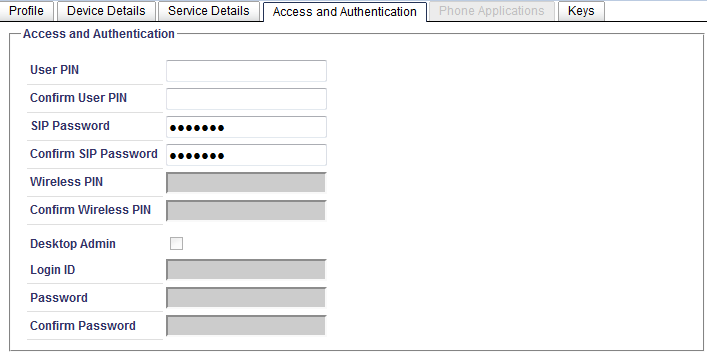
- SIP Password
Enter a password. - Confirm SIP Password
Enter the SIP password.
Keys
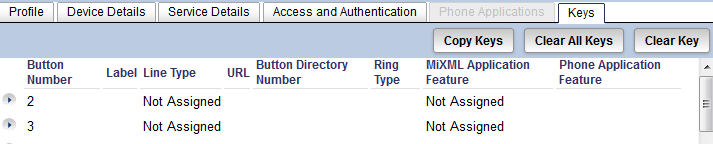
- No configuration necessary.
Hunt Groups
Create a hunt group which includes all the DuVoice user devices created. If the DuVoice user devices class of service does not have COSV/ONS/E&M Voice Mail Port set to Yes then they cannot be added to a hunt group who's type is VoiceMail.
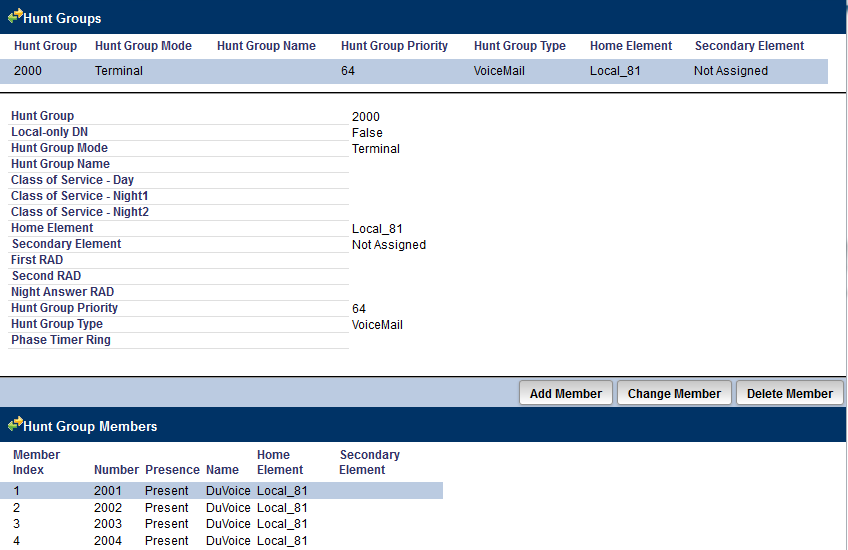
- Hunt Group Mode
Choose Terminal. - Hunt Group Type
Choose VoiceMail.
Call Coverage Services
For each guest or staff phone which will be using the DuVoice for VoiceMail a Call Coverage Service must be configured. This field is configured on a per-user setting located on the Service Details tab.
General
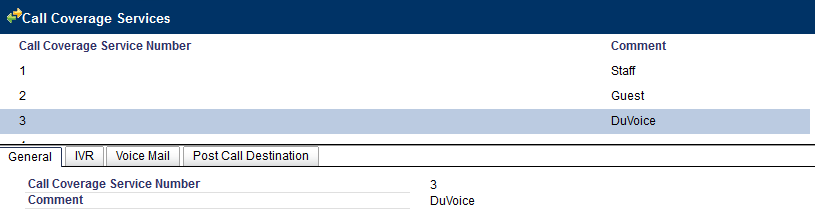
- Comment
Give this coverage service a suitable name.
IVR

Voice Mail

- Voice Mail Number
Enter the hunt group created for the DuVoice above.
Post Call Destination

Call Rerouting
All guest and staff phones using DuVoice for VoiceMail must be configured for Call Routing. This is located under Advanced Configuration | User and Device Attributes or under Call Rerouting.
Call Rerouting First Alternative

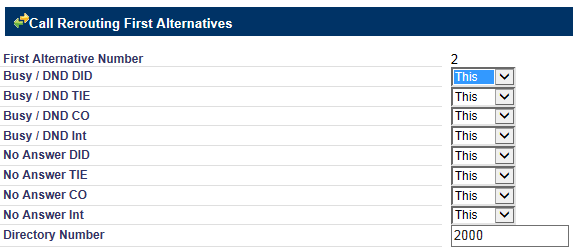
- Enter This for all combo boxes.
- Directory Number
Enter the DuVoice hunt group number.
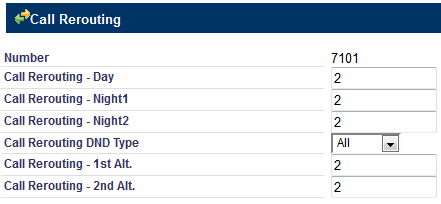
- Call Rerouting - 1st Alt.
Set to the associated Call Rerouting First Alternatives. - Call Rerouting - 2nd Alt.
Set to the associated Call Rerouting Second Alternatives. - Call Rerouting - Day
Set to the associated Call Rerouting. - Call Rerouting - Night1
Set to the associated Call Rerouting. - Call Rerouting - Night2
Set to the associated Call Rerouting.
DuVoice Configuration
If your system was purchased from DuVoice you can skip the Installation of Dialogic and the DuVoice software and go directly to Setup Wizard. For Kit installations you must install Dialogic HMP followed by the DuVoice software.
Install Dialogic HMP
Before DuVoice software can be installed, the Dialogic HMP drivers must being installed and configured. Dialogic HMP installation steps
Setup Wizard
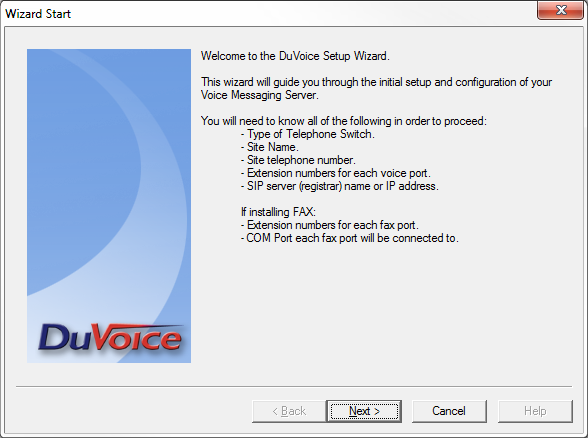
- Click Next.
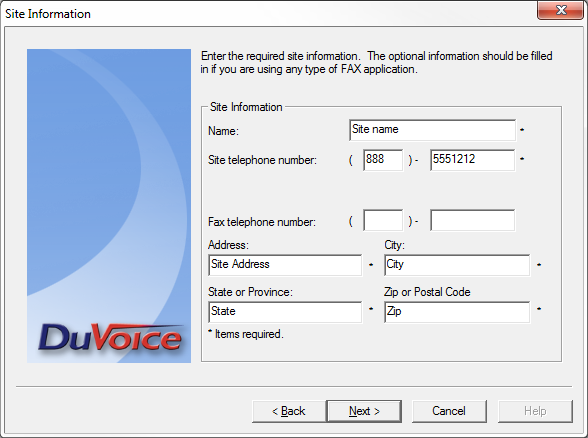
- Fill in all the fields with the site information.
- Click Next.
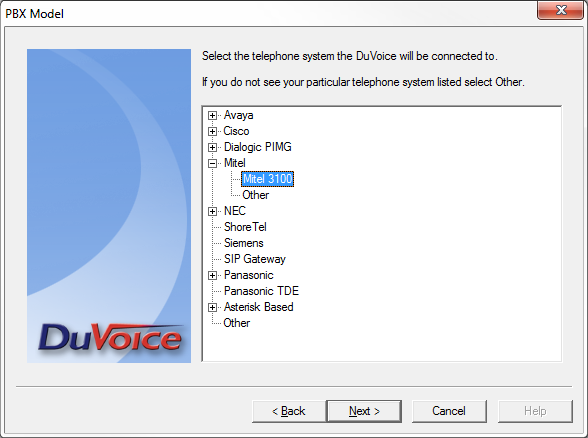
- Select the option which best matches your PBX or Other if your PBX is not listed.
- Click Next.
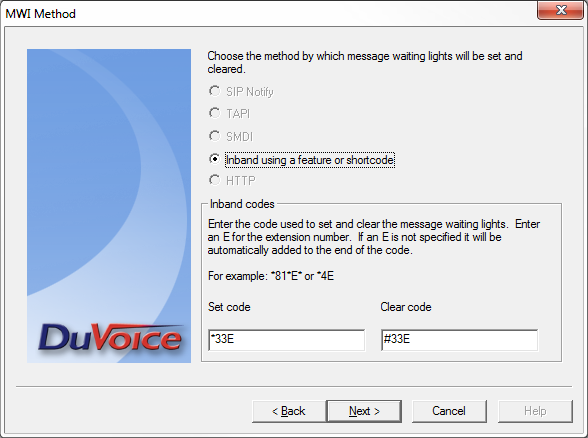
- Unless you have chosen Other as your PBX you will be presented with the choice to configure the default setting for message waiting indicators.
- Click Next.
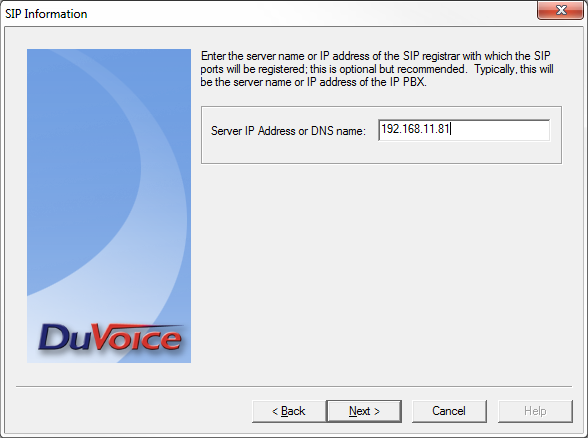
- Enter the IP address of your PBX for SIP registration.
- Click Next.
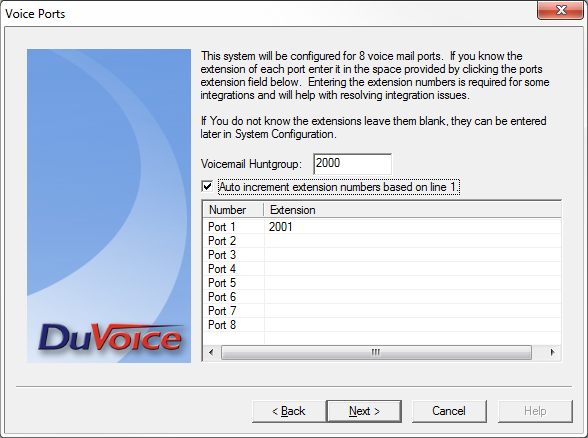
- Enter the huntgroup of the DuVoice system you have created in the PBX.
- If all the stations are numerical check Auto increment extension numbers based on line 1. and enter the first line number in the space provided. If they are not enter the extension number for each port.
- Click Next.
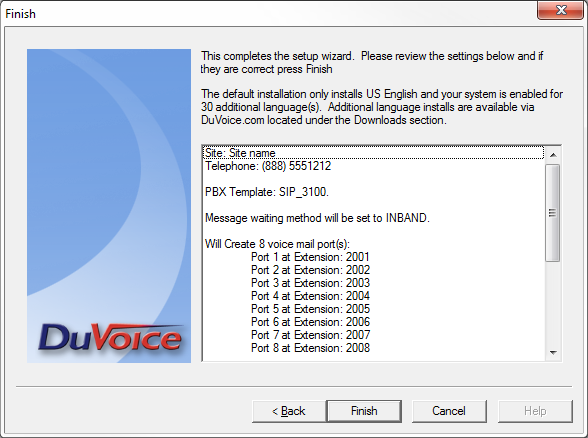
- Click Finish if all the setting are correct.
System Configuration
Line Configuration
Each DuVoice line must now be configured register with the MITEL. This is done via System Configuration and double clicking the line you wish to configure. Each line must be configured with it's own individual settings according to the user account created for it.
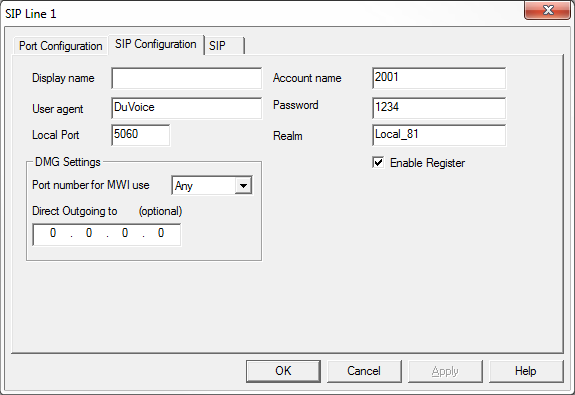
- Account name
Enter the extension number. - Password
Enter the password entered on the Access and Authentication tab. - Realm
This is the field Home Element located on the Profile tab of the user. Note: You must use what Realm is in the pbx. Many pbx's allow this to be anything. Wireshark will display the Realm as well.
Troubleshooting
Registration
- We require the realm to register the DuVoice system to the Mitel system. This is often refered to as the 'network element name' within Mitel.
- Typical trace from WireShark showing a line registration.


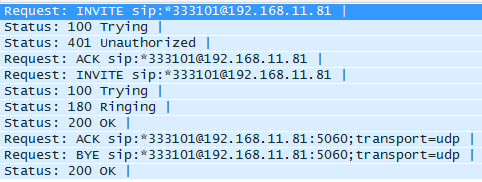
Message Waiting
- Typical trace from WireShark showing an Message Waiting indicator On request.