Panasonic KX-NS (FOS Interface)
Requirements
- DuVoice DV2000 6.02 and above.
- Dialogic HMP.
- Panasonic KX-NS700 or KX-NS1000
- SIP Extensions (Requires SIP License for each extension DuVoice will use to register)
- FOS Front Office System Interface enabled (PMS interface)
- Licensing required in case of KX-NS series (KX-NS300/500/700/1000)
- CTI interface : KX-NSF101
- OR
- CSTA Multiplexer : KX-NSA020
- Licensing required In case of KX-NSX series (KX-NSX1000/2000)
- Multiple CSTA connection : KX-NSXF004
Overview
The DuVoice DV2000 provides an all IP hospitality solution for Panasonic utilizing SIP extensions and the Panasonic PMS interface (FOS) feature. SIP is used for wakeup calls and housekeeping calls to report room clean/dirty status. The FOS PMS interface is used to perform check in/out, COS, name changes and DND for guest extensions in the Panasonic.
GUEST VOICE MAIL: Panasonic must be version 7 or higher for DuVoice to provide guest voicemail. Panasonic systems older than version 7 do not provide SIP diversion headers or proper from fields with FWD/RNA calls which are required to support DV2000 guest voicemail. Therefore the Panasonic voicemail is used instead when integrating with a system running a version older than version 7.
Features
| Feature | Description |
|---|---|
| Class of service | Yes |
| Direct calls | Yes |
| Voice Mail | Yes* |
| PBX Check in/out | Yes |
| DND | Yes |
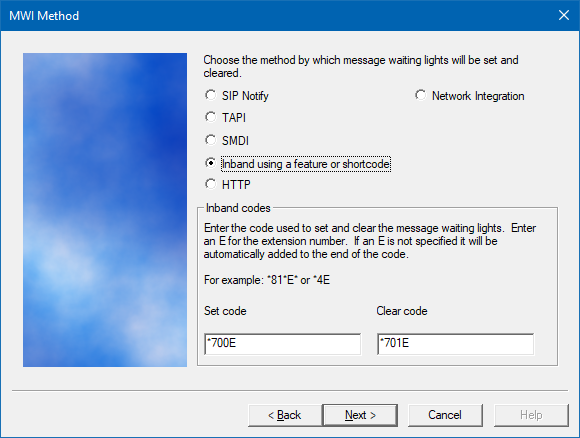
| MWI | Yes* |
| Name changes | Yes |
| Wakeup Call | Yes |
| Housekeeping Room Status | Yes |
*Only if Panasonic is version 7 or higher
PBX Configuration
- SIP Extensions in a hunt group.
- DuVoice ports will register to these extensions for for call integration (Voicemail, Wakeup Calls, etc)
- User extensions will be forwarded to the hunt group assigned to the DuVoice ports for RNA/Busy voicemail
- FOS Interface enabled (See Panasonic document “Required settings for PBX To Use FOS Interface”)
Panasonic Documents
Known Issues
While the DV2000 is connected to the FOS Interface the the Panasonic WebMC application may not work properly and cause lockups. Solution: Shut down the DV2000 services in the Activity Monitor application befor using WebMC. The KX-NS version 7 is schedule to fix the issue.
DuVoice Configuration
If your system was purchased from DuVoice you can skip the Installation of Dialogic and the DuVoice software and go directly to Setup Wizard. For Kit installations you must install Dialogic HMP followed by the DuVoice software.
Install Dialogic HMP
Before DuVoice software can be installed, the Dialogic HMP drivers must being installed and configured. Dialogic HMP installation steps
Setup Wizard
The first page is informational only, listing what information you will need to complete the setup process. When you are ready to proceed, click Next.
On the Site Information page, you must, at a minimum, enter the site name and a site phone number. Dealer name, phone number, and address may optionally be entered as well. When finished, click Next to continue.

On the Tenant Information page, enter the extension or hunt group number for the operator; the default is 0. If you would like the operator to have a mailbox for receiving messages, check the box provided. When finished, click Next to continue.

On the PBX Model page, select the PBX integration to use. If your model is not listed, you can just select Other | SIP Enabled PBX for now. The PBX model can be changed later in System Configuration if necessary. Select a PBX and then click Next to continue.

- Choose Panasonic Other
- Click Next.
- Click Next.
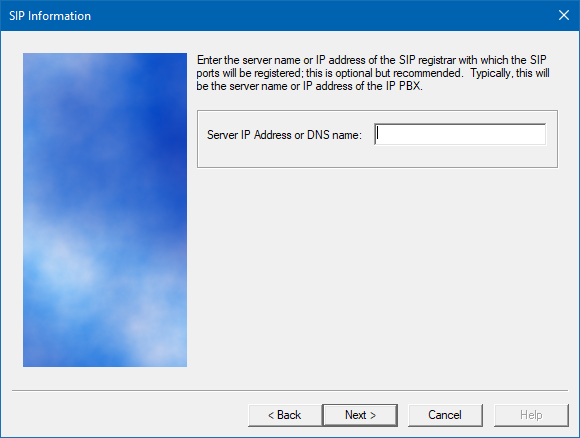
- Enter the IP address of your PBX for SIP registration.
- Click Next.
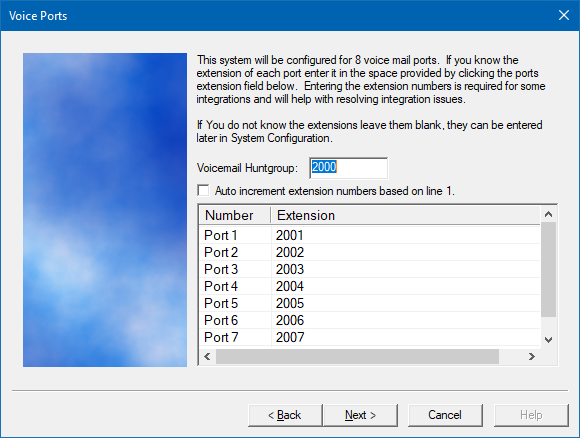
- Leave the huntgroup for the voicemail if there is one.
- Enter the intended extensions for each line.
- Click Next.
Review your changes then click Finish to complete the wizard.
Configuration
SIP Configuration
Using System Configuration, select Telephony | SIP Configuration.
- Under PBX settings, enter the PBX IP
- Under Realm, enter the SIP Domain (default for Panasonic is “Registered Users”)
- Under Lines, enable Registration and enter the SIP extension's account (usually the extension number) and the password for SIP registration.
PBX Link
Using System Configuration, select Site | Profiles.
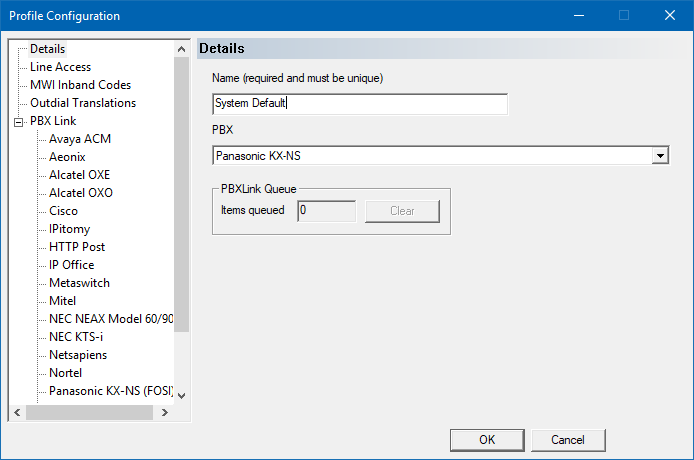
- PBX
Choose Panasonic KX-NS.
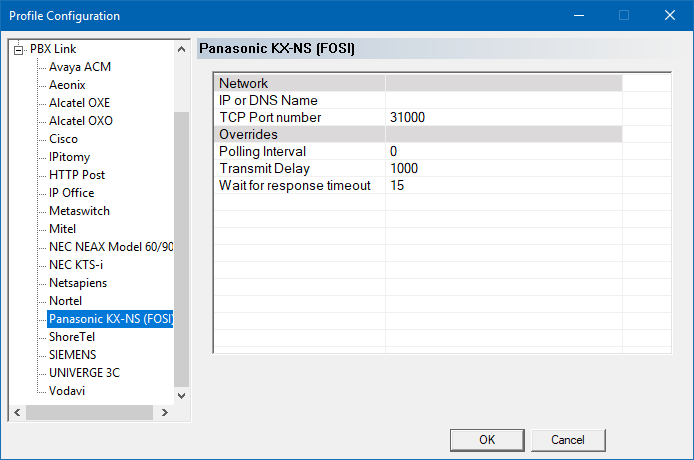
- Name or IP address
Enter the IP address or DNS name of the PBX. - TCP Port Number
Enter the port number on the PBX to connect with. Default is 31000. - Click Ok.