Setup for SIP
Once the install has finished, it will automatically run the Setup wizard to guide you through basic system configuration. This section shows the step-by-step process for a SIP-enabled system.
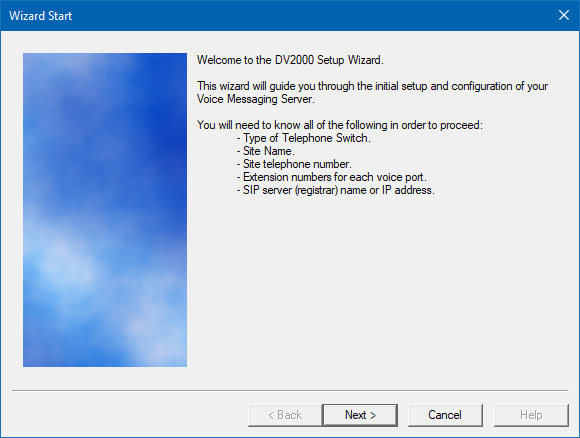
The first page is informational only, listing what information you will need to complete the setup process. When you are ready to proceed, click Next.
On the Site Information page, you must, at a minimum, enter the site name and a site phone number. Dealer name, phone number, and address may optionally be entered as well. When finished, click Next to continue.

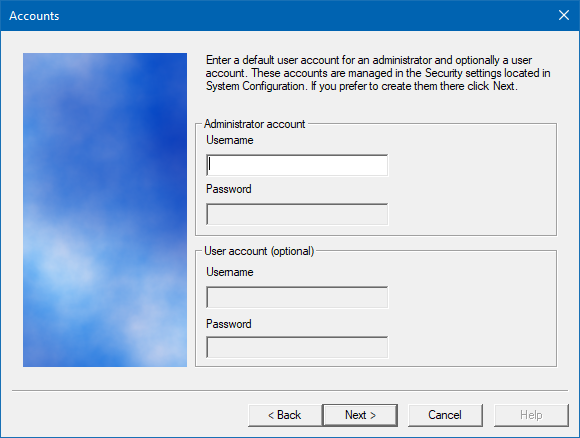
Create an initial administrator account. Optionally also create a standard user account for accessing InnDesk or other web based interfaces. This option can be skipped, if necessary and completed within System Configuration. For additional security some words cannot be used for account names. When finished, click Next to continue.
On the Tenant Information page, enter the extension or hunt group number for the operator; the default is 0. If you would like the operator to have a mailbox for receiving messages, check the box provided. When finished, click Next to continue.

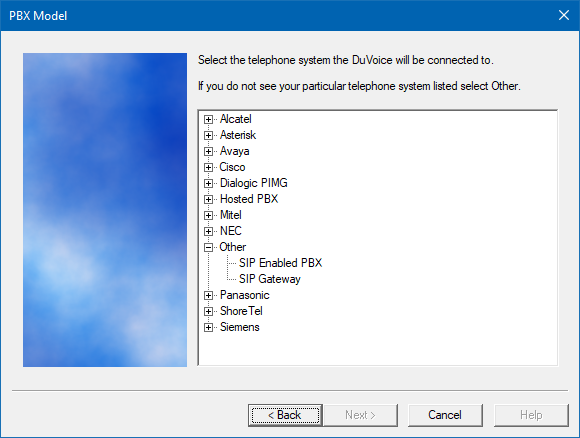
On the PBX Model page, select the PBX integration to use. If your model is not listed, you can just select Other | SIP Enabled PBX for now. The PBX model can be changed later in System Configuration if necessary. Select a PBX and then click Next to continue.
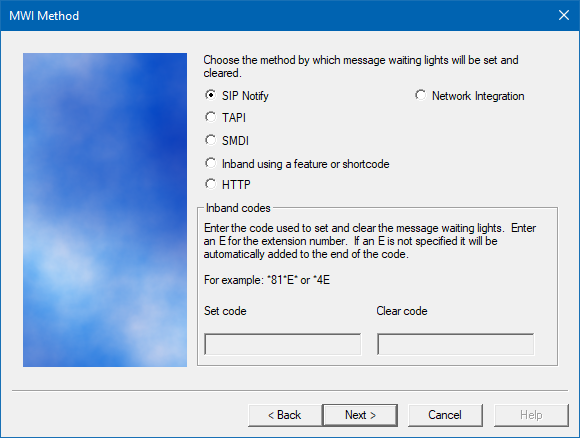
On the MWI Method page, select the method or protocol to use when sending MWI codes to the PBX. If you selected a PBX on the previous page for which the available methods are known, only those methods will be selectable and the others will be disabled. However, if you selected Other | SIP Enabled PBX (as in the example above), all options will be available and it is left to you to know the correct choice for your PBX.
If you select Inband using a feature or shortcode, use the Set code and Clear code boxes to enter the required codes. As noted on the page, you should enter an E in the correct position in the code where the extension number should be dialed; if you don't, the extension will always be appended to the end.
Click Next to continue when you are finished.
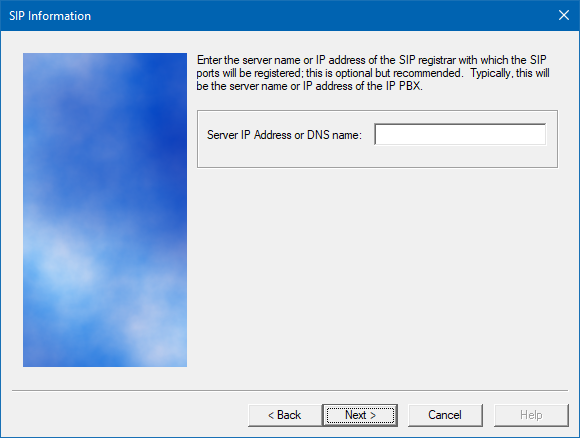
On the SIP Information page, enter the IP address or DNS name for the PBX in the box provided. Click Next to continue.
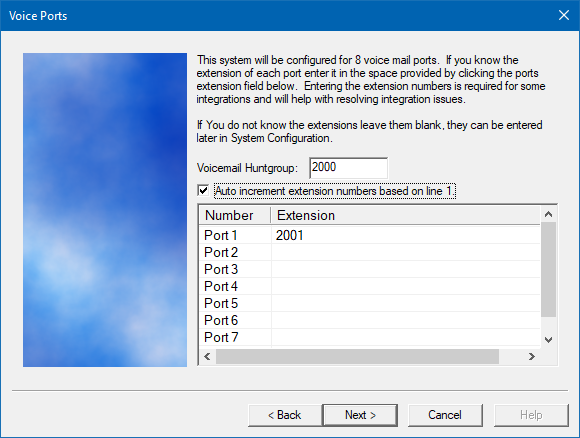
On the Voice Ports page, enter the extension number for each port. This is required for some PBX integrations, but if you don't know the port extension numbers yet you can leave them blank and add them later using System Configuration.
If the extension numbers are in numeric order starting at port 1, you can just enter the extension for port 1 and then check the Auto increment extension numbers based on line 1 box and the wizard will auto-generate the remaining port extensions (they will be displayed on the next page for your review). You may also enter a voicemail hunt group number in the box provided.
Click Next to continue.
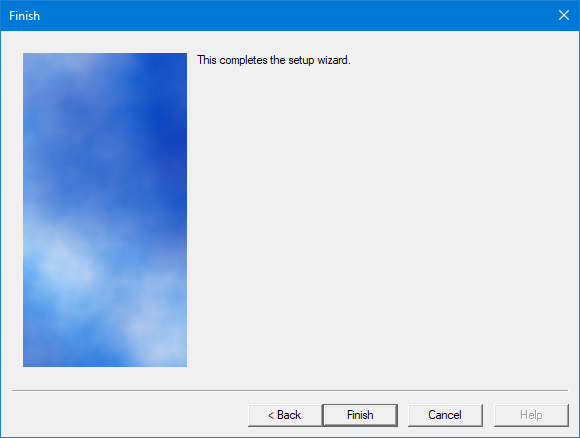
If you need to change something, click Back. You can keep clicking Back until you get to the page you want to edit. Otherwise, click Finish to save the configuration and close the wizard.
